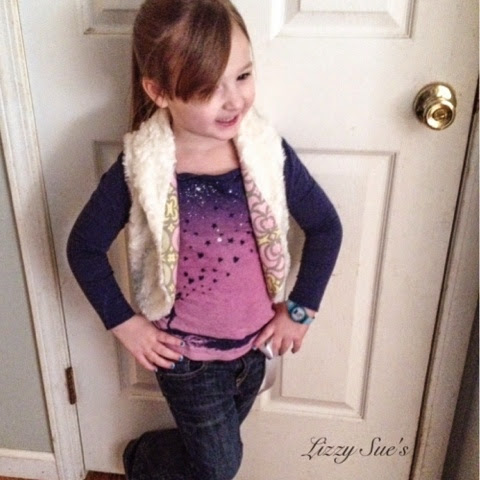
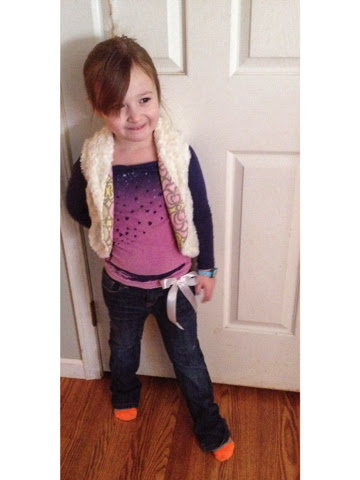
I've been obsessed with fashion trends lately and one trend I've seen lately is the faux fur vests. So I decided to make one for my oldest daughter rylee.
Supplies:
1/2 yd faux fur or in my case minky<<<it's like wearing a blanket!!
1\2 yd cotton fabric, I used an amy butler print from my stash
Sewing supplies, machine, thread, scissors, measuring tape, pins, etc!
I started by tracing an existing sweater to make a quick pattern I added a 1/2 inch seam allowance just incase I needed to adjust the size.
I also measured around the top part on my pattern to add a collar. I cut two pieces 4 inch at the widest part tampering down to a half inch on each end by 12 inches long.
Note: You can make it wider or longer it's completely up to you. :) You just need it long enough to go around the back of the neck.
I also included in a 1/4 inch seam allowance on both sides of the pattern.
I the cut my vest pieces out. I cut one piece for the back of the vest out, and two pieces for the front. Minky tip: flip your minky over right sides together and cut your pattern pieces out, that way everything thing is nice and even. Now cut out your lining. You just need two pieces for the front of the vest and one piece for the back.
I sewed the two pieces for the collar right sides together around the curved part and turned it right side out.
Then I flipped the collar right side out.
Next I sewed the shoulder seams together. Repeat for the lining.
Then I folded the collar in half to find the middle and marked it. I did the same for the vest. I matched the two points up on the collar and back of the vest and pinned in place. I then pinned my lining and minky right sides together around the collar and sewed the whole front of the vest together up to the side seams.
It slipped my mind to take pictures of the next few steps, so just bare with me. :)
Next I stitched the back part together of the vest to the side seams. The side seams should not be sewed together yet. (I originally did them first and ended up ripping stitching out because I found an easier way to turn the vest inside out.)
I turned the vest right side out.
Now, I carefully went back inside the vest and matched up the right sides of the fabric and stitched together the side seams, I did the minky on each side then I did one of my lining seams. (The last seam is going to feel very awkward because your only going to sew half way up the seam and it's gonna feel like your gonna catch all the other fabric, so just take your time.) Once I did that, I tucked my seam inside and slip stitched the hole shut.
Note: You can add a button closure or maybe a ribbon closure. On this vest I decided not to add anything and she loved it!
That's it! I my little diva loved her vest I hope yours will love it two!
Share your photos on Instagram @lizzysueandher2.


